Durham, NC, June 10 —Principled Technologies and the BenchmarkXPRT Development Community release the CloudXPRT Preview, a free benchmark that can accurately measure the performance of modern, cloud-first applications deployed on modern infrastructure as a service (IaaS) platforms, whether those platforms are paired with on-premises (datacenter), private cloud, or public cloud deployments.
The CloudXPRT Preview includes web microservices and data analytics workloads. Testers can use metrics from both workloads to compare IaaS stack (both hardware and software) performance and to evaluate whether any given stack is capable of meeting SLA thresholds. CloudXPRT can be configured to run on local datacenter, AmazonWeb Services™, Google Cloud Platform™, or Microsoft Azure™ deployments.
“Existing datacenter benchmarks don’t make it easy to understand how applications will perform on a given IaaS infrastructure,” said Bill Catchings, co-founder of Principled Technologies, which administers the BenchmarkXPRT Development Community. “CloudXPRT uses cloud-native components on a hardware and software stack to provide end-to-end performance metrics that allow users to choose the best configuration for their business.”
The CloudXPRT Preview provides OEMs, the tech press, vendors, and other testers with an opportunity to work with CloudXPRT directly and shape the future of the benchmark with their feedback. Testers may also freely access the CloudXPRT source code.
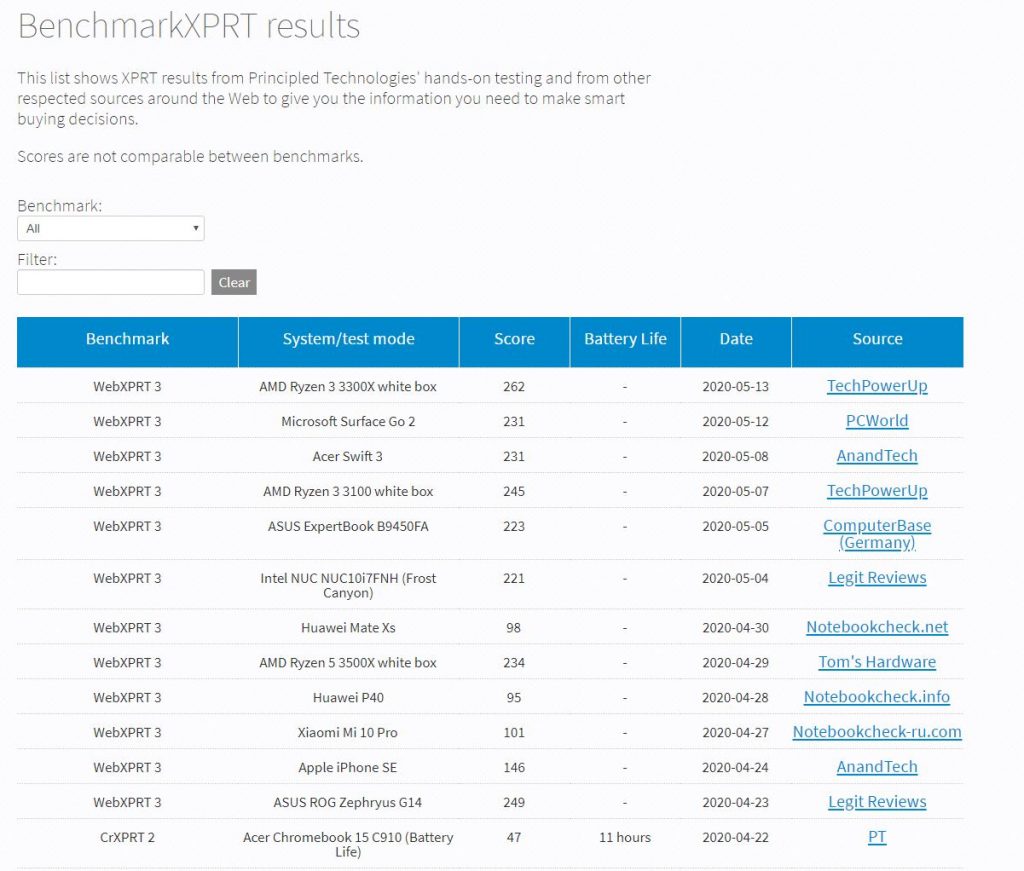
CloudXPRT is part of the BenchmarkXPRT suite of performance evaluation tools, which includes AIXPRT, WebXPRT, CrXPRT, TouchXPRT, HDXPRT, and MobileXPRT. The XPRTs help users get the facts before they buy, use, or evaluate tech products such as servers, computers, and tablets/phones.
To learn more about the BenchmarkXPRT Development Community, go to www.BenchmarkXPRT.com or contact a BenchmarkXPRT Development Community representative directly by sending a message to BenchmarkXPRTsupport@PrincipledTechnologies.com.
About Principled Technologies, Inc.
Principled Technologies, Inc. is a leading provider of technology marketing, as well as learning and development services. It administers the BenchmarkXPRT Development Community.
Principled Technologies, Inc. is located in Durham, North Carolina, USA. For more information, please visit www.PrincipledTechnologies.com.
Company Contact
Justin Greene
BenchmarkXPRT Development Community
Principled Technologies, Inc.
1007 Slater Road, Ste. 300
Durham, NC 27704
BenchmarkXPRTsupport@PrincipledTechnologies.com